Beil 0014 - Blister
The Blister:
Creation Process:
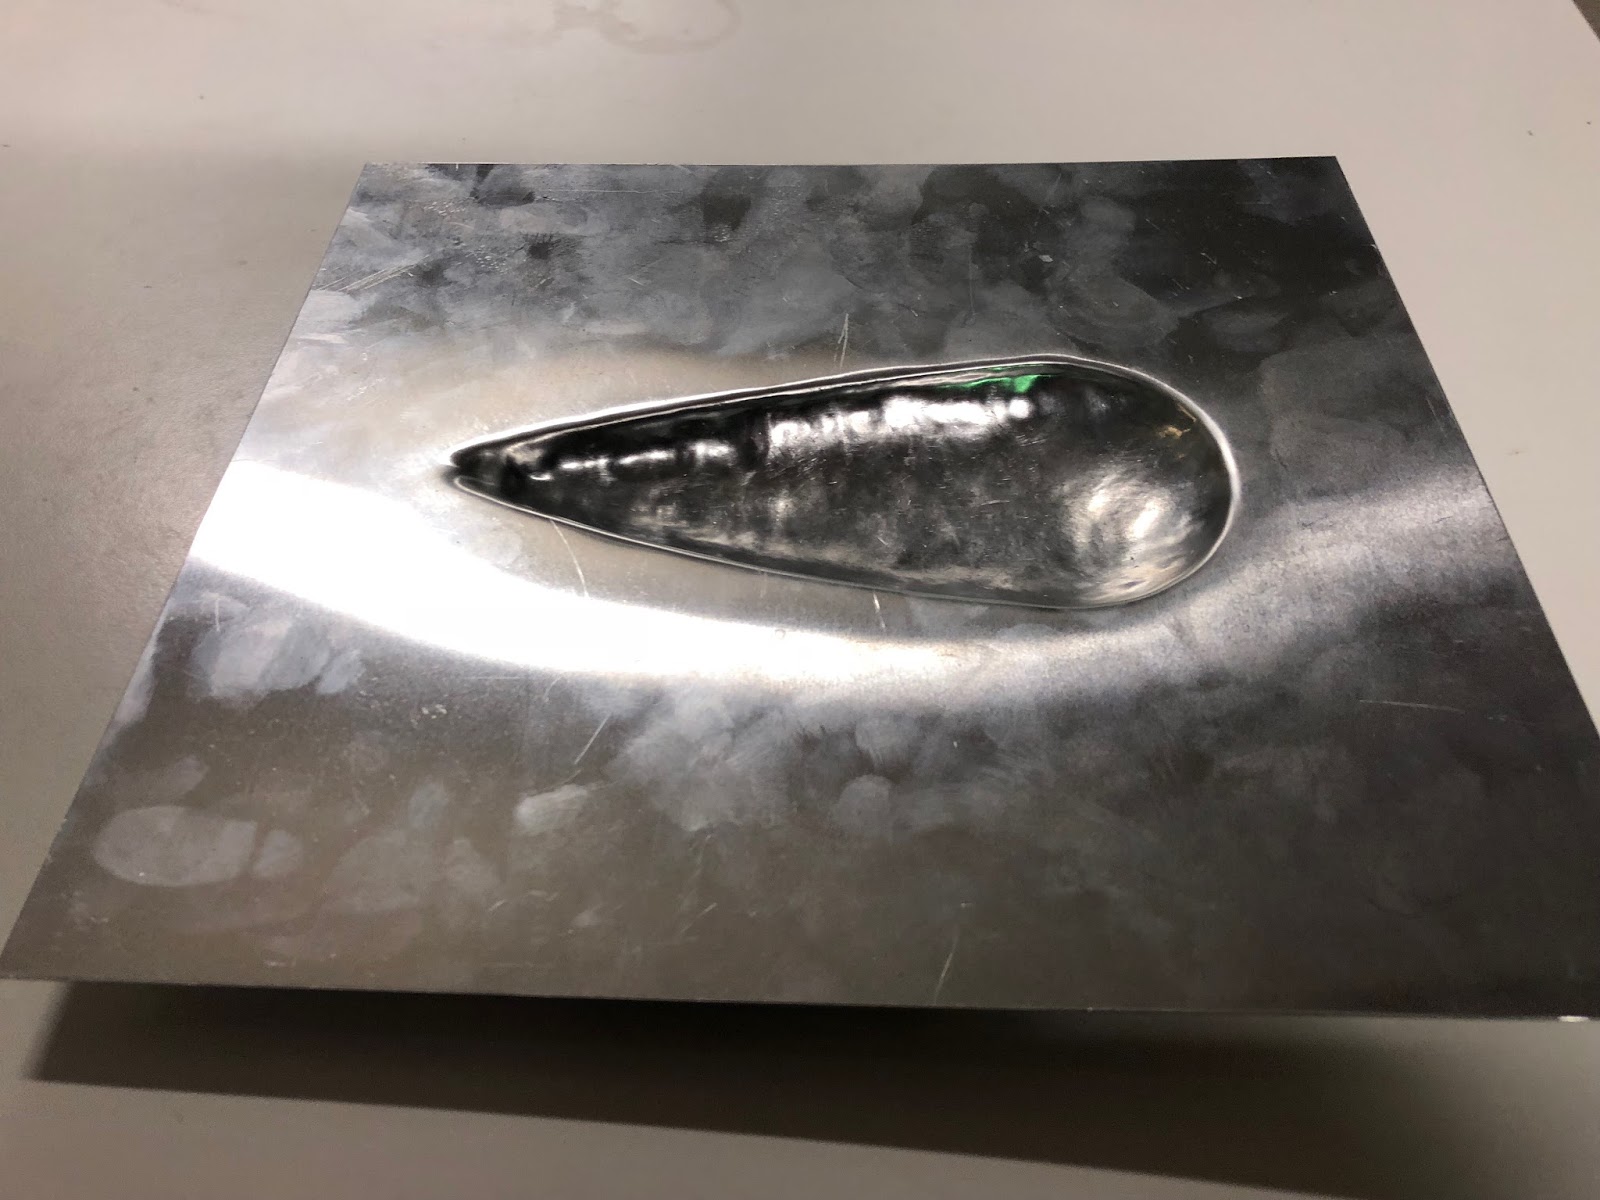
1. The first step the create the blister involved choosing a desirable formed CNC template that was provided by the built environment workshop. This template was going to be utilized to form the blisters overall shape, depth and look hence it was critical to choose the correct shape. The shape i chose was an overall much slimmer shape which would be critical to utilize the correct tools and techniques that had been learnt in the previous weeks to ensure that look of the blister was maximised.
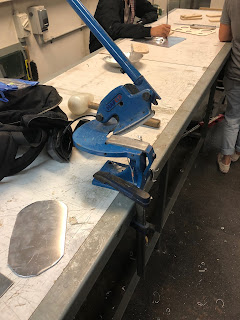
2. From this, the next process was to ensure the aluminium sheet provided was the correct shape and size and did not slide out of the mdf material by using nuts and bolts to tighten to the correct force.
3. The next process was to create the wooden tool that would be used get the overall shape of the blister sharper and get into the corners where the sphered mallet would not. Throughout the overall process of the blister, the wooden tool was changed multiple times. The first one was more of a rectangular edge (see below) to get the blister sharp along the template, the next one involved a more circular head to get a more impact / focused hit on the blister to ensure consistency in the tight spaces. The third alteration including a small compact head to get into the top of the tear drop template.
4. The next step was to start to hit / pucker the aluminium to the desired shape of the template. The was begun by using the rounded sphere mallet to get the overall shape of the blister, than using the smaller more direct edges of the mallets / multi tools to get the sharpness and depth of the blister.


5. The focus of the blister is not to take the aluminimum too far which i learnt my lesson with my first shape. The involves having more focused / subtle hits to ensure that the metal is not stretching too far beyond a point where the metal cracks.
6. Too finish, a cloth and methylated spirits was used to get a general clean to the blister as i felt that it would not be appropriate to sand as it may create scratches in the hard to reach places.
Finished Product:


Comments
Post a Comment