Beil0014 - The Tray
The Tray:
Process:
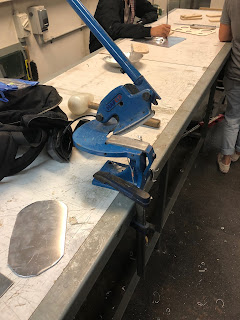
1. The first step of the process to create the aluminium tray is to cut the aluminium sheet using the shears and timber filler pieces to the desired size, incorporating the correct width and fat allowance on the side to ensure that the metal was not left short on either side.
2. By utilizing the stencils provided, the correct and accurate diameters was achieved and was easily conveyed onto the aluminium to ensure that the best finish was achieved.
3. After the correct size and diameter was achieved, the forming process begun. Focusing on folding the edges by utilising the square head mallet (as shown below) and ensuring that no folds / creases were evident. This was achieved by slow and cautious hits focusing on one side of the corner then cutting the excess material where evident.
4. After all edges and sides were bent to ensure a correct 90 degree angle was achieved, a light sand was desirable. By using the sanding board (shown below) the remaining high spots on the tray was removed to ensure a consistent finish between the two trays.
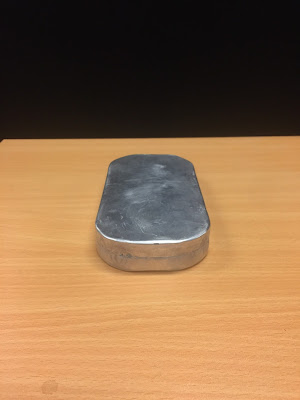
5. After step 5, the 2 trays were compared against each other and if any ambiguities i.e. not a consistent finish between the two were removed through sanding, filing and thorough plenishing of the trays.
6. To finish the trays, both were cleaned with mineral turpentine and the utilization of a cloth to try and remove any visible marks and general dirt from the process.


Comments
Post a Comment